Hi there!
For those who haven’t been following so far, I’ve been building some equipment for a high-quality DIY home studio for an album I’m working on for Lee Safar.
This post is about the second of two microphone preamplifier builds. The first one ( in an earlier post ) was about the ClassicAPI VP26 ( which has a classic old 70s thick API tone), and this one, is about the Sound Skulptor MP73 ( a Neve 1290-style preamp with a warm gooey character ).
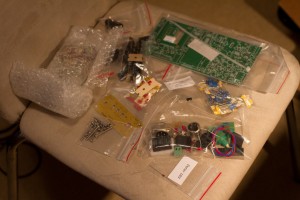
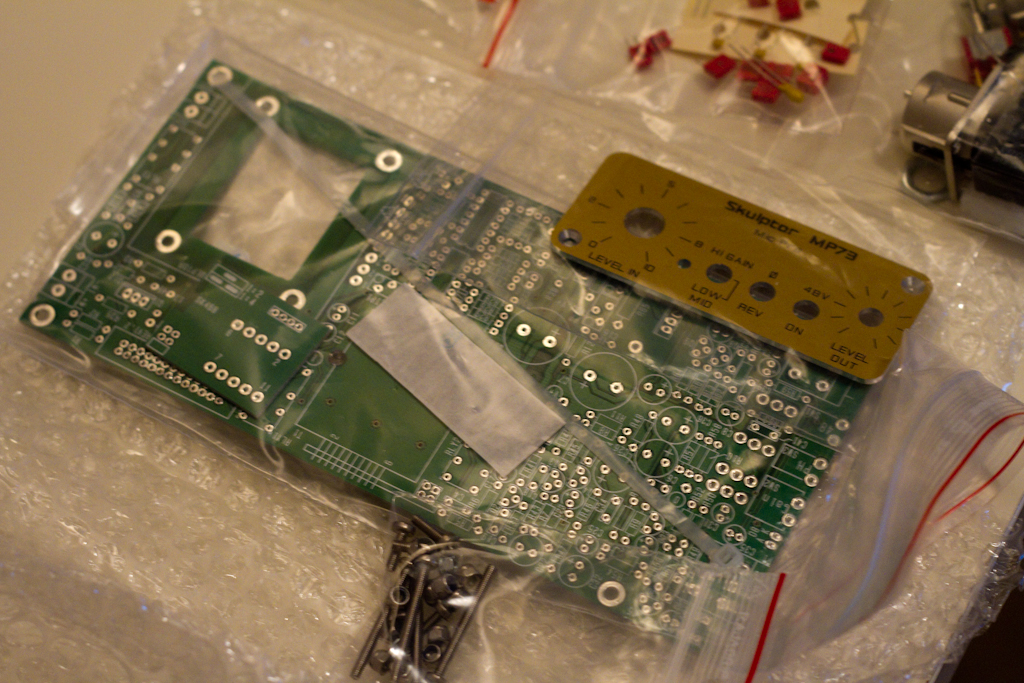
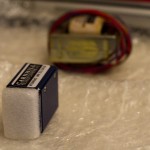
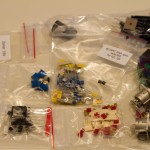
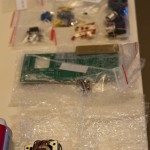
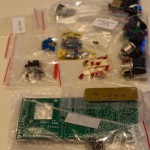
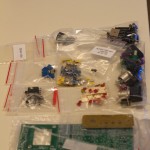
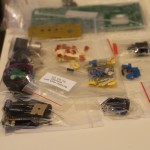
The package arrived from Sound Skulptor, so I proceeded to unwrap it:
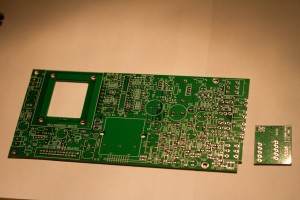
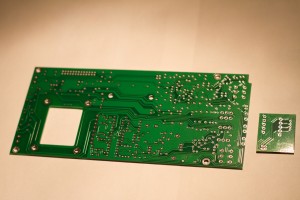
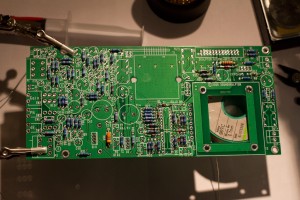
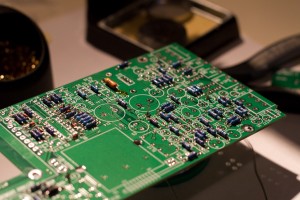
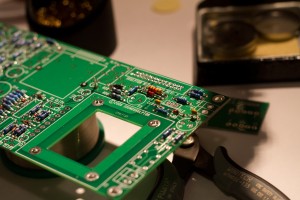
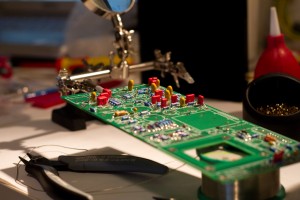
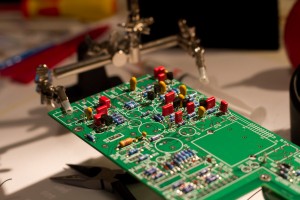
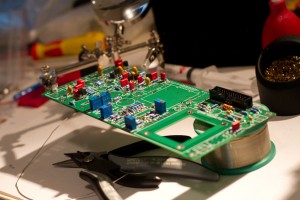
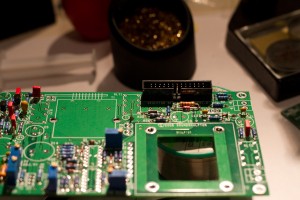
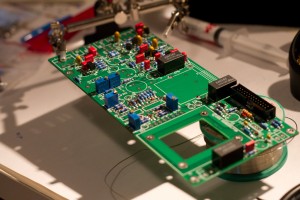
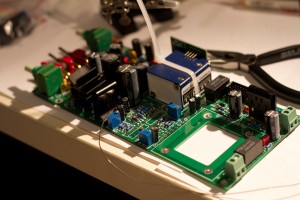
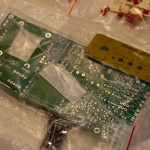
Here is the top and bottom of the included PCB:
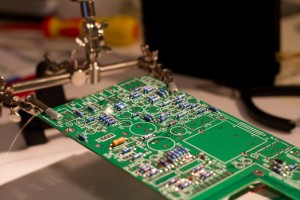
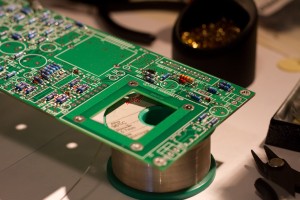
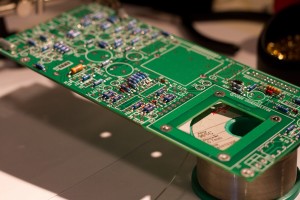
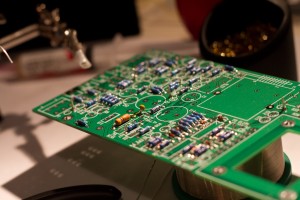
I started to populate the board with the diodes first, as per the excellent included instructions:
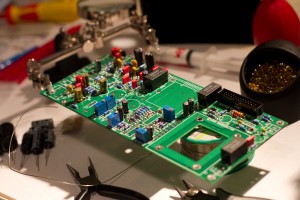
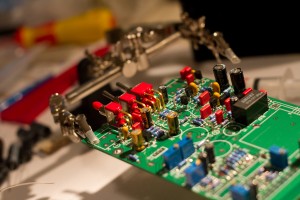
After this point however I deviate a little from the provided instructions cause I felt I had a better construction order, however, next came the resistors:
Next came the ceramic caps:
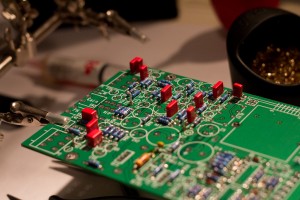
Then the film capacitors:
Then the tantalum capacitors:
Then some transistors:
Then the trimmers:
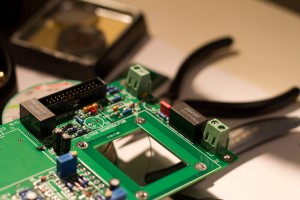
The header:
The relays:
The small electrolytic capacitors:
The terminal block connectors:
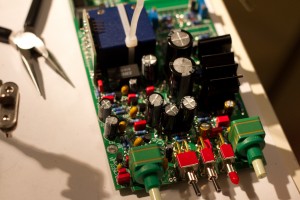
Then the main front panel switches:
Next came the potentiometers:
Then the heatsink clips were applied to the power transistor and voltage regulators:
The large electrolytic caps went in next:
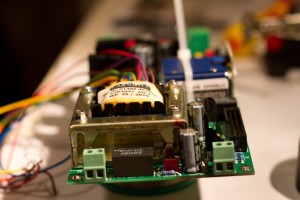
The Carnhill input transformer went in next with some tricky manouvres to seat it into position:
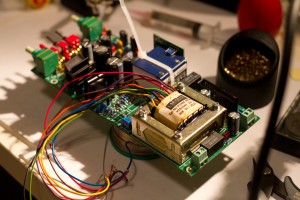
Now the Carnhill output transformer goes in:
So then I trimmed and soldered the output transformer leads, and whacked in some IC sockets ( even though the instructions didn’t mention them, I put them in cause I have a bad track record with destroying static sensitive chips…. ):
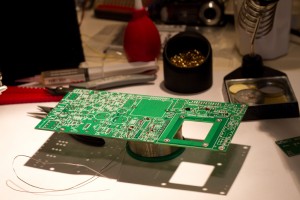
I used the front panel, held on by the other components, to help me correctly line up the LED before soldering it, and I’m glad I did, cause now it lines up PERFECTLY. A slight deviation from the original instructions, but easy, and accurate:
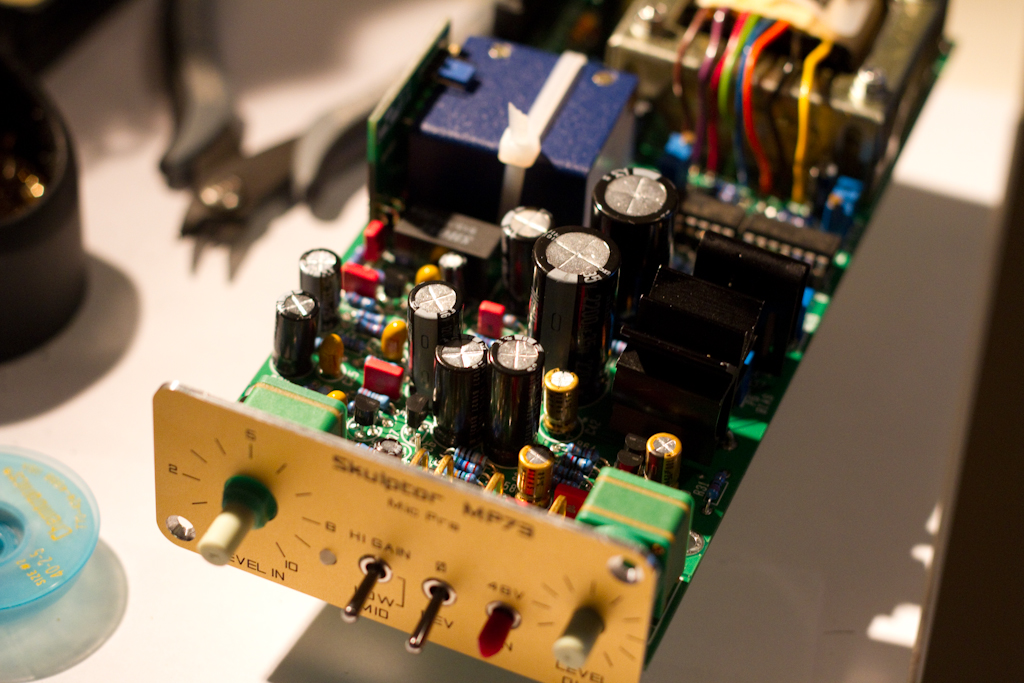
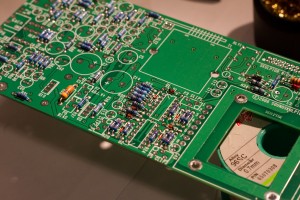
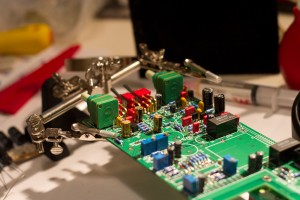
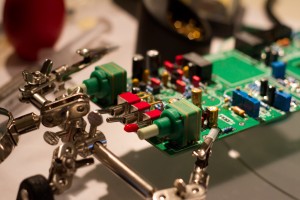
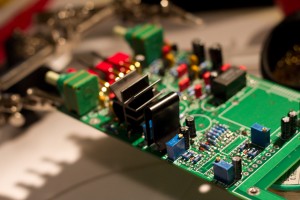
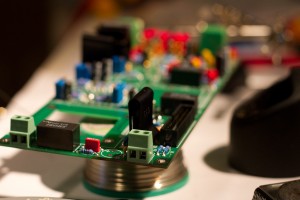
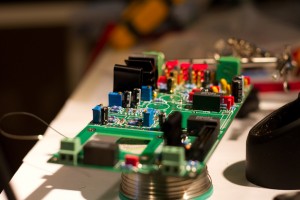
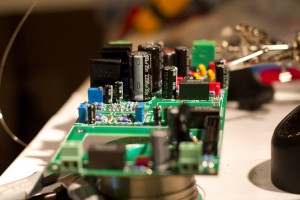
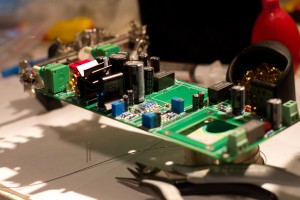
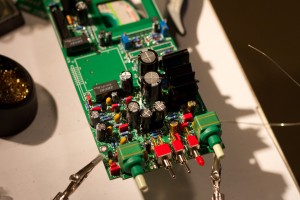
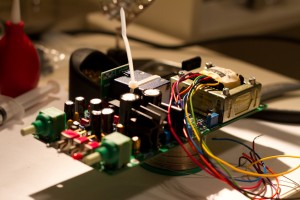
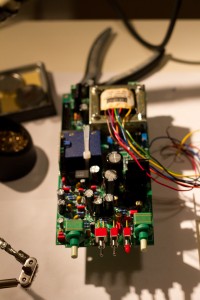
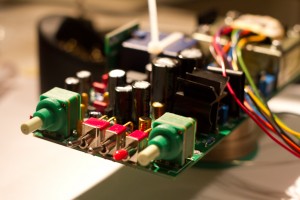
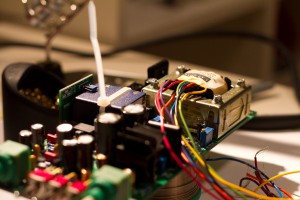
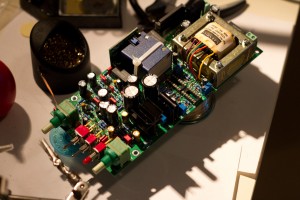
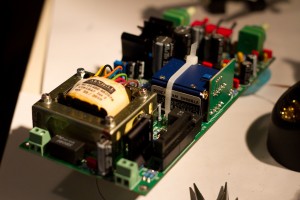
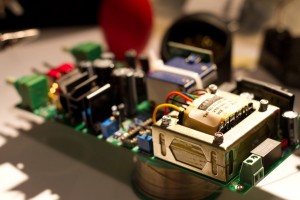
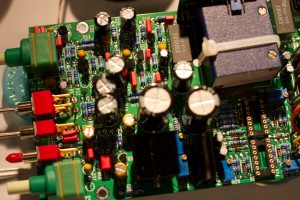
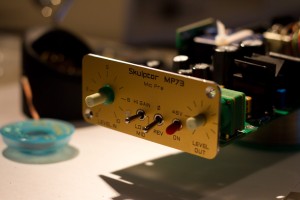
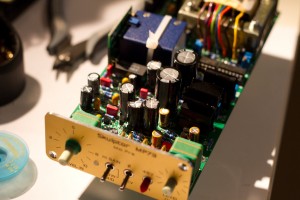
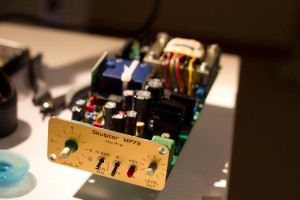
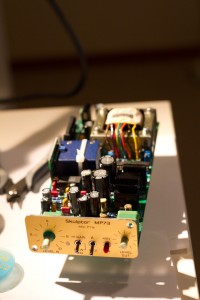
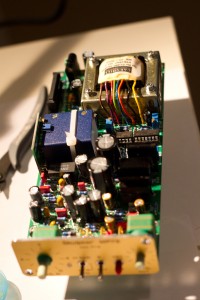
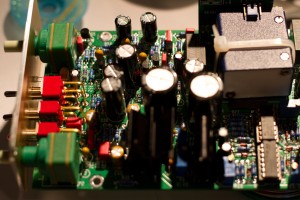
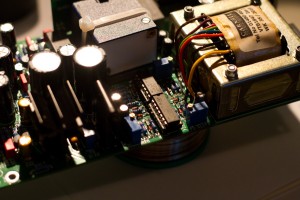
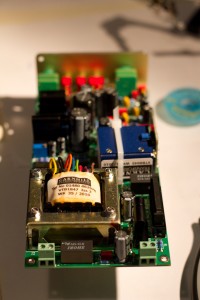
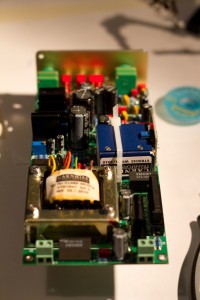
And that was it, finished! Now I just have to do some careful cleaning of the underside of the board to remove the flux I used on the ground-plane connections ( they had to be HOT to solder properly due to the thermal dissipation…. ), but here are the shots of the final construction:
Now all that is remaining is building a power supply, casing this MP73 preamp with the VP26 one in a 1u rack case, and then, some testing.
But so far it’s looking good – not long to go now!
Catch you all soon!
